title: FRN
emoji: 📉
colorFrom: gray
colorTo: red
sdk: streamlit
pinned: true
app_file: app.py
sdk_version: 1.10.0
python_version: 3.8
FRN - Full-band Recurrent Network Official Implementation
Improving performance of real-time full-band blind packet-loss concealment with predictive network - ICASSP 2023
License and citation
This repository is released under the CC-BY-NC 4.0. license as found in the LICENSE file.
If you use our software, please cite as below. For future queries, please contact [email protected].
Copyright © 2022 NAMI TECHNOLOGY JSC, Inc. All rights reserved.
@misc{Nguyen2022ImprovingPO,
  title={Improving performance of real-time full-band blind packet-loss concealment with predictive network},
  author={Viet-Anh Nguyen and Anh H. T. Nguyen and Andy W. H. Khong},
  year={2022},
  eprint={2211.04071},
  archivePrefix={arXiv},
  primaryClass={cs.LG}
}
1. Results
Our model achieved a significant gain over baselines. Here, we include the predicted packet loss concealment mean-opinion-score (PLCMOS) using Microsoft's PLCMOS service. Please refer to our paper for more benchmarks.
| Model | PLCMOS |
|---|---|
| Input | 3.517 |
| tPLC | 3.463 |
| TFGAN | 3.645 |
| FRN | 3.655 |
We also provide several audio samples in https://crystalsound.github.io/FRN/ for comparison.
2. Installation
Setup
Clone the repo
$ git clone https://github.com/Crystalsound/FRN.git
$ cd FRN
Install dependencies
Our implementation requires the
libsndfilelibraries for the Python packagessoundfile. On Ubuntu, they can be easily installed usingapt-get:$ apt-get update && apt-get install libsndfile-devCreate a Python 3.8 environment. Conda is recommended:
$ conda create -n frn python=3.8
$ conda activate frn
Install the requirements:
$ pip install -r requirements.txt
3. Data preparation
In our paper, we conduct experiments on the VCTK dataset.
Download and extract the datasets:
$ wget http://www.udialogue.org/download/VCTK-Corpus.tar.gz -O data/vctk/VCTK-Corpus.tar.gz
$ tar -zxvf data/vctk/VCTK-Corpus.tar.gz -C data/vctk/ --strip-components=1
After extracting the datasets, your
./datadirectory should look like this:. |--data |--vctk |--wav48 |--p225 |--p225_001.wav ... |--train.txt |--test.txtIn order to load the datasets, text files that contain training and testing audio paths are required. We have prepared
train.txtandtest.txtfiles in./data/vctkdirectory.
4. Run the code
Configuration
config.py is the most important file. Here, you can find all the configurations related to experiment setups,
datasets, models, training, testing, etc. Although the config file has been explained thoroughly, we recommend reading
our paper to fully understand each parameter.
Training
Adjust training hyperparameters in
config.py. We provide the pretrained predictor inlightning_logs/predictoras stated in our paper. The FRN model can be trained entirely from scratch and will work as well. In this case, initiatePLCModel(..., pred_ckpt_path=None).Run
main.py:$ python main.py --mode trainEach run will create a version in
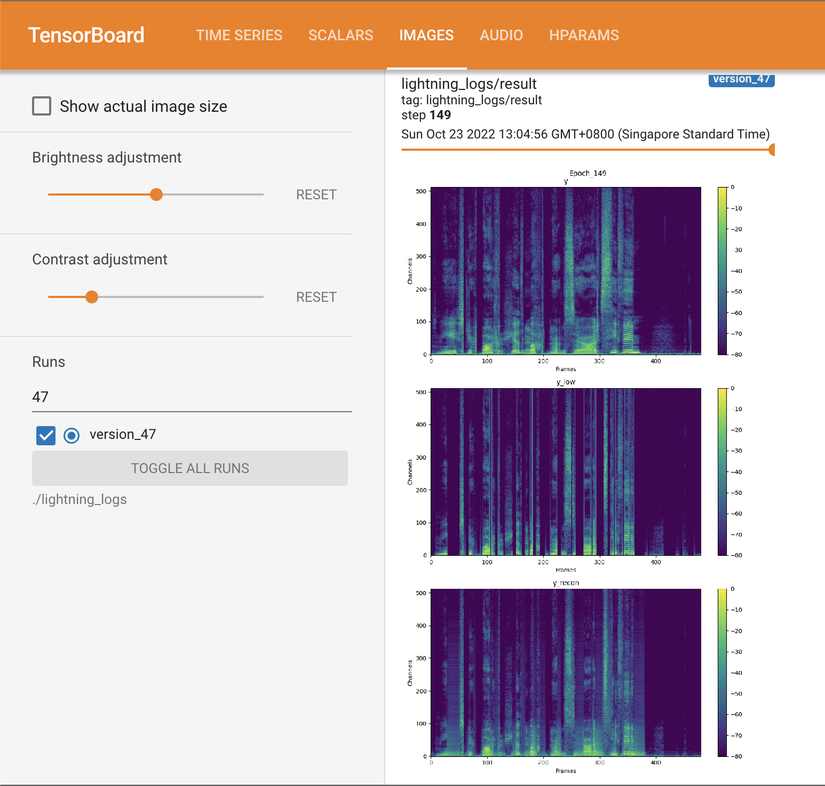
./lightning_logs, where the model checkpoint and hyperparameters are saved. In case you want to continue training from one of these versions, just set the argument--versionof the above command to your desired version number. For example:# resume from version 0 $ python main.py --mode train --version 0To monitor the training curves as well as inspect model output visualization, run the tensorboard:
$ tensorboard --logdir=./lightning_logs --bind_all
Evaluation
In our paper, we evaluated with 2 masking methods: simulation using Markov Chain and employing real traces in PLC Challenge.
- Get the blind test set with loss traces:
$ wget http://plcchallenge2022pub.blob.core.windows.net/plcchallengearchive/blind.tar.gz $ tar -xvf blind.tar.gz -C test_samples - Modify
config.pyto change evaluation setup if necessary. - Run
main.pywith a version number to be evaluated:
During the evaluation, several output samples are saved to$ python main.py --mode eval --version 0CONFIG.LOG.sample_pathfor sanity testing.
Configure a new dataset
Our implementation currently works with the VCTK dataset but can be easily extensible to a new one.
- Firstly, you need to prepare
train.txtandtest.txt. See./data/vctk/train.txtand./data/vctk/test.txtfor example. - Secondly, add a new dictionary to
CONFIG.DATA.data_dir:
Important: Make sure each line in{ 'root': 'path/to/data/directory', 'train': 'path/to/train.txt', 'test': 'path/to/test.txt' }train.txtandtest.txtjoining with'root'is a valid path to its corresponding audio file.
5. Audio generation
In order to generate output audios, you need to modify
CONFIG.TEST.in_dirto your input directory.Run
main.py:python main.py --mode test --version 0The generated audios are saved to
CONFIG.TEST.out_dir.ONNX inferencing
We provide ONNX inferencing scripts and the best ONNX model (converted from the best checkpoint) at
lightning_logs/best_model.onnx.- Convert a checkpoint to an ONNX model:
The converted ONNX model will be saved topython main.py --mode onnx --version 0lightning_logs/version_0/checkpoints. - Put test audios in
test_samplesand inference with the converted ONNX model (seeinference_onnx.pyfor more details):python inference_onnx.py --onnx_path lightning_logs/version_0/frn.onnx
- Convert a checkpoint to an ONNX model:


